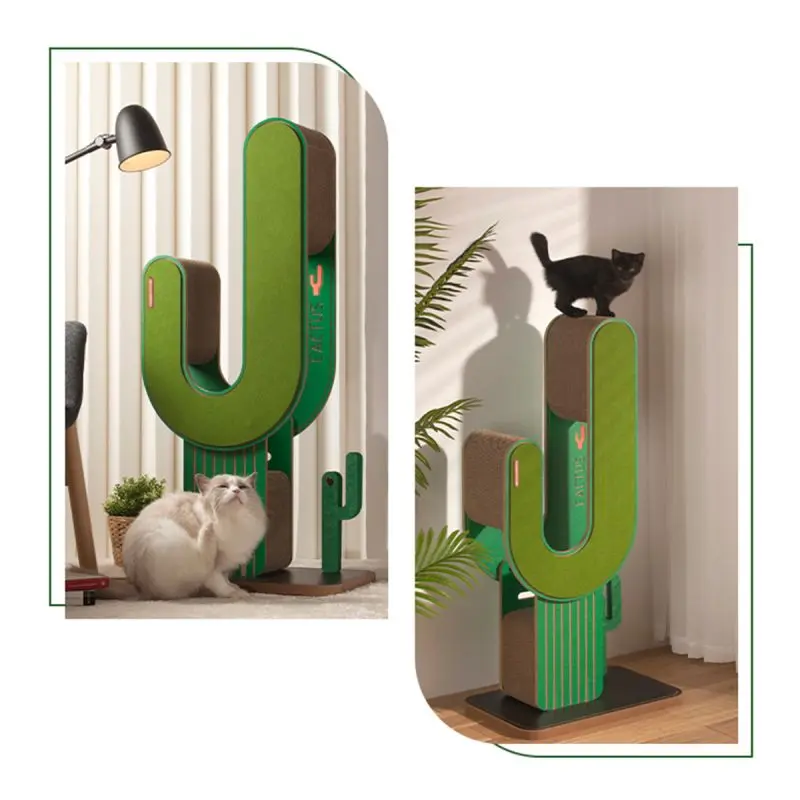
Are you a proud cat owner looking for a way to engage your feline friend? Homemade DIY cat trees are the best choice! Not only is this a great way to provide your cat with much-needed play time, but it can also be a cost-effective alternative to store-bought options. In this blog, we’ll guide you step-by-step on how to create your own DIY cat tree, ensuring your furry friend has a stylish and fun place to play and relax.
Step 1: Gather required materials
Before you start building your DIY cat tree, you need to gather all the necessary materials. Here is a list of essentials:
1. Wooden board: Choose a strong and thick board that can withstand the weight and movement of the cat.
2. Sisal Rope: Great for wrapping around a wooden pole to provide your cat with a great scratching surface.
3. Plywood or particle board: used for the base and platform of the cat tree.
4. Carpet remnants: Optional addition to provide extra comfort for your cat.
5. Screws, Nails and Hammers: Secure components securely.
Step 2: Design and Planning
Take the time to sketch out your ideal cat tree design, taking into account the space available in your home. Consider incorporating platforms, scratching posts, and cozy hideaways to make the place more inviting for your furry friend. Don’t be afraid to get creative and add a personal touch.
Step Three: Build the Foundation
Start by cutting plywood or particle board to create a stable and sturdy base for your cat tree. Make sure it is wide enough to prevent it from wobbling or tipping over. Next, attach the boards vertically to the base, fastening them with screws or nails. The height of these posts depends on the cat’s size and preferences.
Step 4: Cover the cat scratching post
To provide the perfect scraping surface, wrap the sisal rope tightly around the wooden post. Not only does this satisfy your cat’s natural instincts, it also protects your furniture from unwanted scratches. Make sure the rope is securely fastened from top to bottom, allowing your cat to climb and scratch without any risk of unraveling.
Step 5: Add Platforms and Hideaways
Attach additional boards or platforms at different heights to create a multi-tiered cat tree. These platforms can be covered with carpet remnants or cozy rugs to provide your cat with a comfortable place to relax and observe their surroundings. You can also install hidden boxes or tunnels to create an exciting adventure for your feline friend.
Step 6: Make it Visually Appealing
Once construction is complete, it’s time to put in the final touches. Consider painting wooden components with a non-toxic pet-friendly paint to ensure cat safety. You can also decorate your cat tree with cat toys, feathers or bells to make it more attractive and attractive.
A DIY cat tree not only provides a fun space for your cats to interact with, but it can also be a rewarding DIY project. By following the step-by-step guide above, you’ll have a sturdy and customized cat tree that your furry friend will love. So roll up your sleeves, gather the materials, and create a unique haven that your cat will cherish for years to come. Happy building!
Post time: Nov-20-2023

