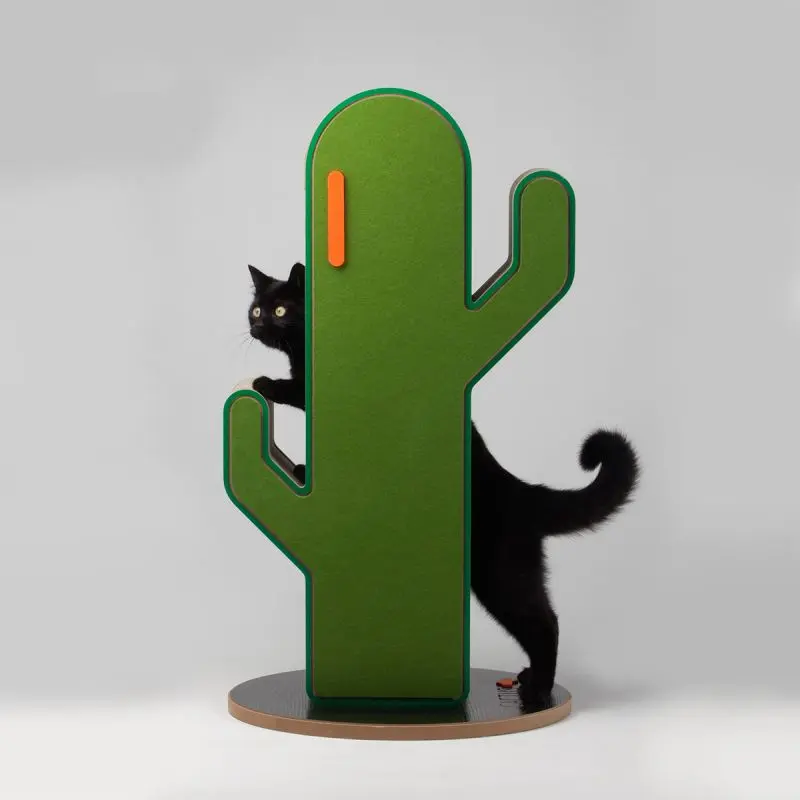
If you’re a cat owner, you know how important it is to create a stimulating environment for your feline friend. Cat trees are the perfect solution for keeping your cat happy, providing them with a place to scratch, or even giving them a high vantage point to view their territory. Assembling a cat tree may seem like a daunting task, but with the right tools and a little know-how, you can easily assemble a cat tree that your furry friends will love. In this step-by-step guide, we’ll walk you through the process of assembling a cat tree, from choosing the right materials to putting the finishing touches on your masterpiece.
Step 1: Gather materials and tools
Before you start assembling your cat tree, you need to gather the necessary materials and tools. Here is a list of items you will need:
- Cat tree kits or individual components such as scratching posts, platforms and perches
- Electric drill with Phillips head screwdriver attachment
- screw
- wood glue
- a hammer
- one level
- Rug or sisal rope to cover the scratching post
Step 2: Choose the right location
Before you start assembling your cat tree, you need to determine its best location. Ideally, you want to place your cat tree somewhere your cat can easily reach it and provide them with plenty of space to play and relax. You’ll also want to consider placing the cat tree near a window so your cat can enjoy the view and sun.
Step 3: Assemble the base
Start by assembling the base of the cat tree. If you are using a cat tree kit, assemble the base according to the manufacturer’s instructions. If you’re assembling the base from scratch, first attach the bottom platform to the base of the cat scratching post using screws and wood glue. Use a level to ensure the base is stable and even.
Step 4: Install Scratch Posts
Once the base is assembled, you can install the scratching post. If your cat scratching posts don’t come pre-lined with carpet or sisal rope, you’ll need to do this before attaching them to the base. To cover a cat scratching post, simply apply a generous amount of wood glue to the scratching post and wrap rug or sisal rope tightly around it. After covering the scratch posts, secure them to the base using screws and wood glue, making sure they are evenly spaced and secure.
Step 5: Add Platforms and Perches
Next, it’s time to add the platform and perches to the cat tree. Likewise, if you’re using a cat tree kit, follow the manufacturer’s instructions for installing the platform and perch. If you’re assembling them yourself, secure them to the scratch posts using screws and wood glue, making sure they’re level and stable.
Step 6: Cover with rug or sisal rope
To give your cat tree a complete look and provide a comfortable resting surface for your cat, cover the platform and perches with rugs or sisal rope. Use wood glue to secure the rug or string, making sure it’s taut and secure. This step is not only aesthetically pleasing, but it also provides your cat with a comfortable and cozy space to relax.
Step 7: Make sure everything is in place
Once you have assembled all the components of your cat tree, take a moment to inspect each component and make sure everything is securely fastened. Gently shake the cat tree and make necessary adjustments to ensure it is stable and safe for cats to use.
Step 8: Invite your cat to join in the fun
Once your cat tree is fully assembled and secured, it’s time to introduce it to your feline friends. Encourage your cat to explore new things in the environment by placing toys and treats on platforms and perches. You may also want to sprinkle some catnip on the scratching posts to entice your cat to start using them.
In summary
Assembling a cat tree is a fun and rewarding DIY project that benefits both you and your cat. By following this step-by-step guide and using the right materials and tools, you can create a custom cat tree that will provide your cat with hours of entertainment and comfort. Remember to choose a cat tree location that suits your cat’s needs and check the cat tree regularly for any signs of wear and tear. With a little effort and creativity, you can create a cat tree that you and your feline friends will love.
Post time: Jan-08-2024

