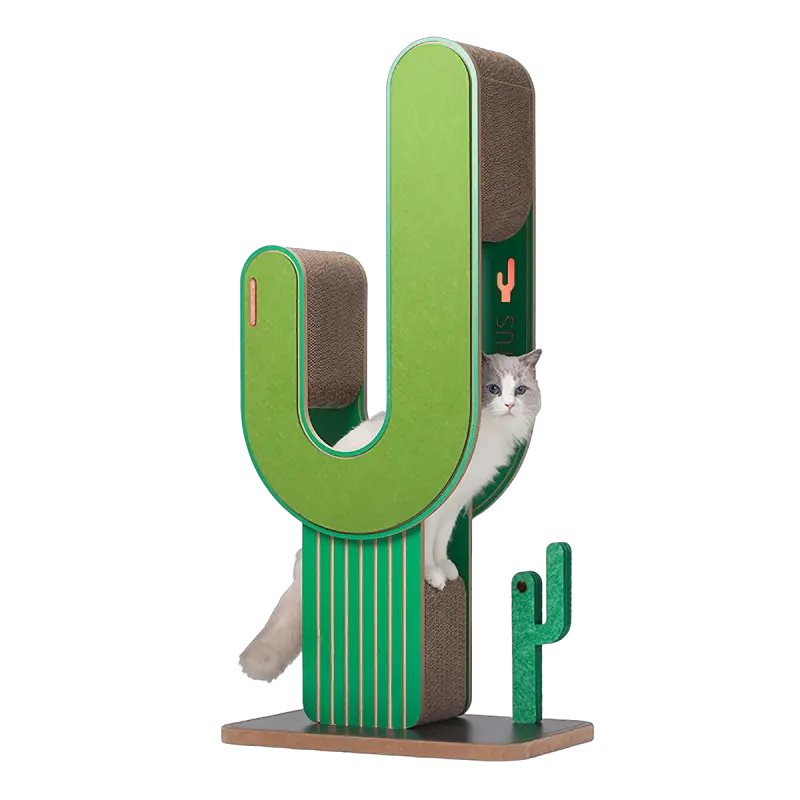
As a cat owner, providing a fun and stimulating environment for your feline friend is an important aspect of their overall health. One way to keep your cat entertained and engaged is to build a cat tree. Cat trees provide a great place for your cat to scratch, climb, and play, and they can also help protect your furniture from damage from your cat’s claws. In this blog, we’ll show you how to make a cat tree out of cardboard, a cost-effective and easy-to-find material that your cat will love.
materials needed:
- Cardboard boxes of various sizes
- Utility knife or utility knife
- Glue or hot glue gun
- Rope or twine
- sisal rope or rug
- Mat or blanket (optional)
Step 1: Gather materials
First, you need to gather all the materials you need for the project. You can collect cardboard boxes from old packaging or buy them from a craft or office supply store. Look for boxes of different sizes to create different levels and platforms for your cat tree. You’ll also need a utility knife or utility knife to cut the cardboard, glue or a hot glue gun to hold the pieces together, and wrap string or twine around the cardboard for added sturdiness. If you want to include a scraping surface, you can use sisal rope or rugs, and you can add rugs or blankets for extra comfort.
Step Two: Design Your Cat Tree
Before you start cutting and assembling the cardboard, it’s a good idea to draw a rough design for your cat tree. Think about how many levels and platforms you want to include, as well as any additional features such as grab boards or hiding spots. This will help you visualize the final result and make the construction process smoother.
Step Three: Cut and Assemble the Cardboard
Using a utility knife or utility knife, start cutting the cardboard into the desired shape for your cat tree. You can create platforms, tunnels, ramps, and grabbing posts by cutting cardboard into rectangles, triangles, and squares of different sizes. Once you have all the parts cut, you can start assembling the cat tree. Use glue or a hot glue gun to secure the pieces together to create a sturdy structure that your cat can safely climb on and play with.
Step 4: Add Scratching Surface
To encourage your cat to scratch using a cat tree, you can wrap sisal rope or rug around the scratching post and platform. Use glue or staplers to secure the string or rug in place, making sure it’s tightly packed and provides your cat with a satisfying scratching surface.
Step 5: Wrap with rope or twine
To add extra sturdiness and visual appeal to your cat tree, you can wrap string or twine around the cardboard structure. Not only will this make the cat tree more durable, but it will also give it a rustic, natural look that cats will love. Use glue to secure the ends of the rope or twine in place.
Step 6: Add a cushion or blanket (optional)
If you want to make your cat tree even more cozy, you can add cushions or blankets to the platforms and perches. This will provide your cat with a comfortable place to rest and nap, making the cat tree more attractive to your furry friend.
Step 7: Place the Cat Tree in an Interesting Place
Once your cat tree is complete, find a fun and engaging location to place it in your home. Consider placing it near a window so your cat can observe the outside world, or in a room where your cat spends a lot of time. Adding some toys or treats to your cat tree will also entice your cat to explore and play with their new creation.
By following these simple steps, you can create a custom cat tree for your feline friend using only cardboard and a few other basic materials. Not only will this DIY project save you money, but it will also provide your cat with a fun and stimulating environment that they will enjoy. So roll up your sleeves, get creative with cardboard and create the perfect cat tree for your furry friend!
Post time: Jan-18-2024

