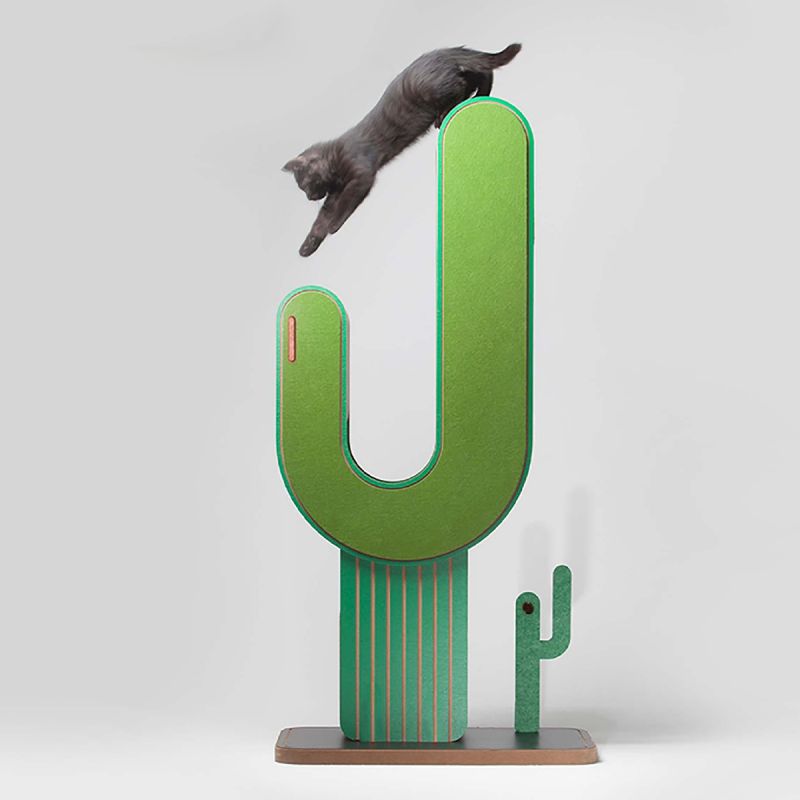
For your feline friends, cat trees are a great addition to any home. Not only do they provide cats with a place to scratch, play, and rest, but they also give them a sense of security and territory. However, to ensure the safety of your pet and prevent any accidents, the cat tree must be securely attached to the wall. In this blog, we will discuss the importance of protecting your cat tree and provide a step-by-step guide on how to do it effectively.
Why should a cat tree be fixed to the wall?
Cat trees come in a variety of sizes and designs, but most are tall and heavy. Without proper anchoring, they can easily tip over, posing a potential danger to your cat and causing damage to your home. Cats are curious and agile animals who love to climb and explore their environment. A secure cat tree allows them the freedom to do this without the risk of collapse. Additionally, attaching the cat tree to the wall prevents it from sliding or moving, providing a stable and safe environment for your pet.
How to attach a cat tree to the wall:
Step 1: Choose the right location
Before you start fixing your cat tree, choose a suitable location in your home. Consider a spot away from doorways and high-traffic areas where your cat can clearly see its surroundings. It’s important to choose walls that are sturdy and able to support the weight of your cat tree.
Step 2: Gather necessary tools and materials
To attach the cat tree to the wall, you will need some tools and materials. These may include stud finders, pencils, drills, screws, wall anchors, and levels. Make sure you choose the right hardware that is strong enough to bear the weight of your cat tree.
Step 3: Find the wall studs
Use the stud finder to locate the wall studs where you plan to anchor your cat tree. Wall studs are vertical wooden beams within a wall that provide support for heavy objects. Once you find the studs, mark their locations with a pencil.
Step Four: Place the Cat Tree
With the help of a friend or family member, carefully place the cat tree in the desired location against the wall. Use a level to make sure your cat tree is straight and balanced.
Step 5: Drill Pilot Holes
Use the marks you made for the wall studs as a guide to drill pilot holes in the wall. These holes will serve as guides for screws and wall anchors.
Step 6: Attach the Cat Tree to the Wall
Once you have drilled the pilot holes, you can secure the cat tree to the wall. Depending on the design of your cat tree, you may need to use brackets, L-brackets, or other hardware to hold it in place. Make sure to use screws and wall anchors that are appropriate for the type of wall you are using.
Step 7: Test stability
Once the cat tree is securely attached to the wall, gently shake it to test its stability. If it feels wobbly or unstable, double-check the anchors and screws to make sure everything is secured correctly.
Step 8: Encourage your cat to use the tree
After you’ve secured the cat tree to the wall, it’s time to encourage your cat to explore and use it. Place some toys, treats, or catnip on the tree to entice your pet to climb and play. With a safe and stable cat tree, your cat will feel safe and comfortable using it.
All in all, attaching your cat tree to the wall is vital to the safety and well-being of your feline friends. By following the steps outlined in this blog, you can provide your cat with a safe and stable environment in which to climb, play, and relax. Remember to choose the right location, use the right tools and materials, and double-check the stability of your cat tree after attaching it to the wall. Your cat will thank you for it, and you can rest assured knowing that your pet is safe and happy in their high space.
Post time: Dec-16-2023

